When Sarah noticed her tomato seedlings wilting on hot afternoons, she had two options: hand-water twice a day and give up weekends, or find a steady, reliable way to keep roots evenly moist. Her 12-by-8-foot raised beds made hoses awkward and overhead watering wasted water. The right drip setup solved her problem—consistent moisture, fewer weeds, and more time to enjoy the harvest.
Why a drip kit is the right fix for vegetable gardens
Problem: Vegetable plants need regular, targeted moisture at the root zone, not sporadic overhead sprays that waste water and encourage disease. A typical garden hand-watered with a hose can deliver uneven moisture—wet patches near the stem, dry spots between rows, and wasted runoff.
Solution: A complete drip irrigation kit delivers water directly to each plant’s roots through tubing, emitters, or soaker lines, which reduces evaporation and runoff. For example, research from the University of California Cooperative Extension shows that drip systems can cut irrigation water use by 30–70% compared with overhead sprinkler systems in many vegetable applications.
Concrete setup example: For a 10-by-10 bed with staggered rows of lettuce, a simple kit with a 1/2" mainline, 1/4" feeder tubes, and adjustable 0.5–2.0 GPH (gallons per hour) emitters lets you tune flow for young seedlings vs. mature heads. That setup supplies steady moisture without wetting leaves—important for tomato blight prevention.
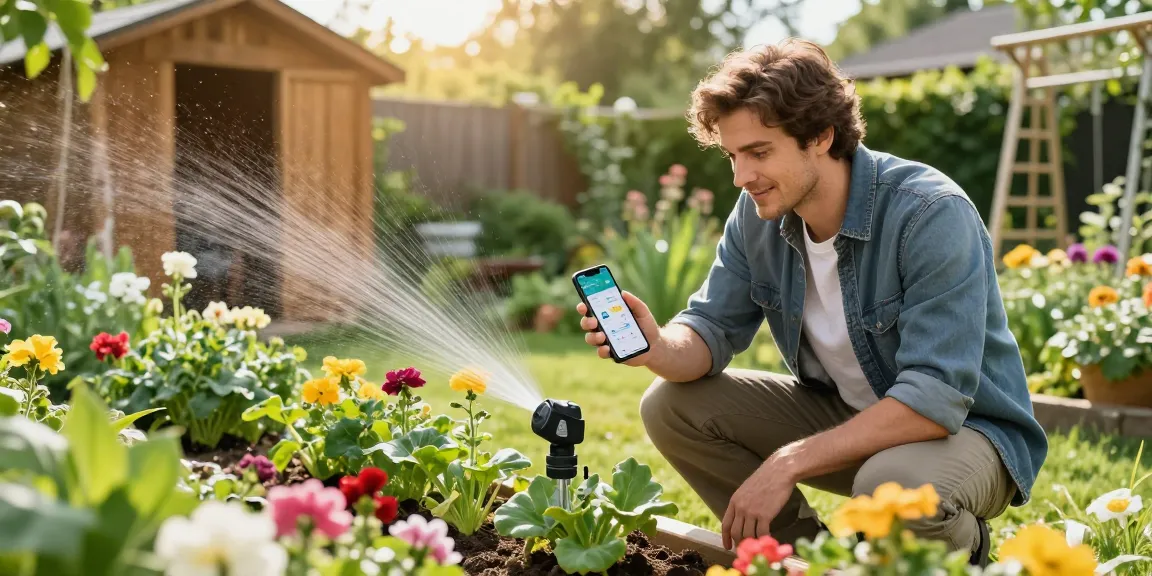
Practical note: Kits vary—some include a pressure regulator and filter (essential if your water supply has sediment), others add a timer. A WiFi timer such as the RainPoint model lets you schedule short, frequent cycles early morning and late afternoon automatically, which is helpful when you can’t be home to water.
Choosing the right components for your garden size and crops
Problem: DIYers often overbuy parts or pick emitters that don’t match plant needs, creating soggy soil or thirsty plants.
Solution: Match parts to garden area and plant spacing. Below are clear pairings and a simple comparison table to guide choices.
Component checklist
- Mainline tubing (1/2" or 5/8") for the backbone of the system
- Feeder tubing (1/4") to reach individual plants
- Emitters (0.5–2.0 GPH adjustable) or drip tape/soaker lines for rows
- Pressure regulator (usually to 25–30 PSI) and inline filter to protect emitters
- Barbed fittings, stakes, end caps, and basic tools
- Optional: a timer or smart controller to automate watering
Garden TypeSuggested Main ComponentEmitter ChoiceSmall raised beds (under 50 sq ft)1/4" tubing runs; starter kit0.5–1.0 GPH emitters or drip tapeMedium beds (50–200 sq ft)1/2" mainline with 1/4" feedersAdjustable 1.0–2.0 GPH emittersLong rows (over 50 ft)Drip tape or soaker hose on each rowInline emitters or continuous drip tape
Concrete example: A 6-by-10 bed with tomatoes, peppers, and basil might use a 1/2" trunk with 1/4" branches to each plant and 1.0 GPH emitters. During summer, run two 20-minute cycles daily or use a smart timer to split runs into early morning and late afternoon to reduce stress.
Installation basics: step-by-step for beginners
Problem: Installation can feel intimidating—where to punch holes, which fittings to use, and how to test for leaks.
Solution: Follow a simple sequence and test as you go. The process below is for a typical raised bed; each step includes a real-world tip.
- Plan your layout: sketch beds, note plant spacing, and decide where the mainline will run. Tip: place the mainline along the longest side to minimize tubing runs.
- Install a backflow preventer at the faucet if local code requires it, then attach a filter and pressure regulator. Tip: a clogged filter shows up quickly—check it after the first week.
- Lay the mainline tubing and secure it with stakes. Punch holes where feeder lines will attach using the kit’s hole punch.
- Run 1/4" feeder tubing to each plant and attach barbed emitters or insert drip tape along rows. Tip: use emitter stakes to keep tubes near the root ball.
- Cap the line ends, slowly pressurize the system, and walk the bed to spot leaks or low-flow emitters. Adjust or replace emitters as needed.
- Program your timer based on soil type: sandy soils need shorter, more frequent runs; clay soils need longer, less frequent runs. For instance, sandy raised-bed mix may need 3–4 short cycles per day in hot weather, while loam needs 1–2.
Realistic figure: according to the EPA, smart irrigation controllers paired with efficient delivery methods like drip can reduce outdoor water use by 20–50% in many households. Link to a reliable source for more information: EPA WaterSense.
Troubleshooting and watering schedules that work
Problem: New systems sometimes leave parts of a bed too wet or too dry, or emitters clog with mineral deposits.
Solution: Use simple tests and a practical schedule to tune performance.
Quick troubleshooting
- No flow from some emitters: check for a kink in feeder tubing, flush the mainline, and inspect the filter.
- Wet soil surface and plant stress: reduce runtime or lower emitter flow; add mulch to slow evaporation.
- Clogged emitters: remove and soak in vinegar or replace with inline pressure-compensating emitters if you have hard water.
Sample watering schedule (mid-summer, full sun):
Soil TypeRun FrequencyRun DurationSandy2–4 times/day10–20 minutesLoam1–2 times/day15–30 minutesClay1 time/day (or every other day)25–45 minutes
Concrete example: Tim’s community garden had uneven growth until he split each watering into two 15-minute cycles instead of one long 30-minute run—roots soaked evenly and plants stopped showing midday wilt.
If you’d rather buy a pre-configured solution than pick parts separately, you can get a complete drip irrigation kit for vegetable gardens that includes tubing, emitters, and the fittings sized for raised beds and in-ground plots. Kits take the guesswork out of matching components and often include instructions tuned to typical garden layouts.
RainPoint acts as a scenario irrigation expert for homeowners who need the right match for their yard—whether that’s a mobile sprinkler for a tiny lawn or a precise drip layout for veggies. For example, a WiFi timer from RainPoint can handle staggered schedules and short cycles automatically, freeing you from daily watering chores during the hottest months.